How To Install Pond Lighting
There is nothing like watching your fish cruise around your pond at night. It takes your pond to a whole different level. And don't even get me started about entertaining friends campfire-side around your lit pond-free waterfall!
So you're hooked. You need this underwater light stuff in a bad way. Where do you start?
Here's our step by step guide on how to light your water feature.
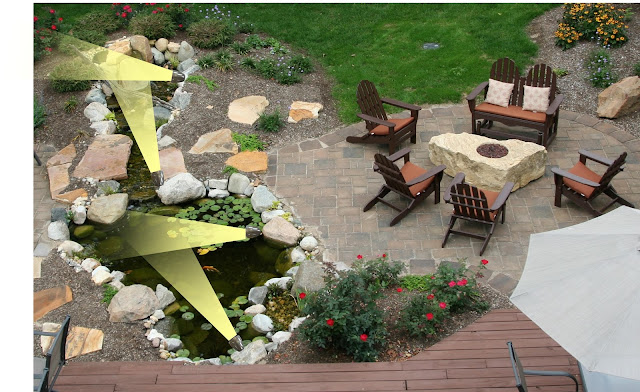
Step 1 -- Find your water feature viewpoint.
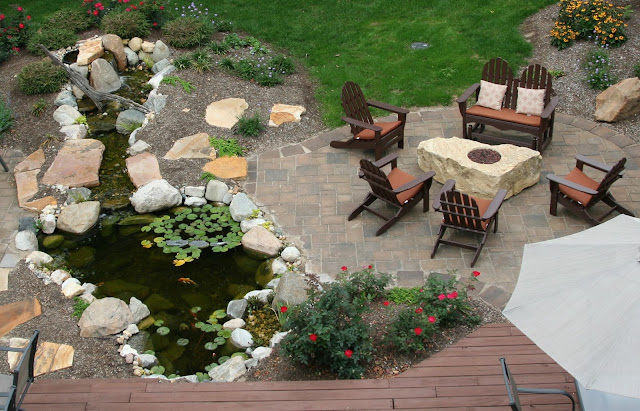 |
| Thanks to Shawn and Kathy for the awesome aerial view of their backyard! |
 |
| Notice the direction of the lights are pointing away from the viewing areas. |
Step 2 -- Find your power outlet and take some measurements.
We need to know how wide your pond is, how long, and how long your stream / waterfall length is. Proximity to the nearest outdoor outlet is also important! Notice that the outlet in this backyard is hidden by rose bushes.
Step 3 -- Pick your lighting style.
Lighting can be soft and subtle or bold and statement-making! Do you have existing landscape lighting? You'll want to blend that style with your water feature.
At the Wickers' house, Steve uses a kind of "outside in" approach. He uses bright spotlights outside of the pond to highlight all of his creeks and waterfalls. The pond is the highlight of his yard! If you'd rather take a little more subtle approach, you can submerge all your lighting units and use uplights in the waterfalls instead of spotlights.
Think about if you want some areas of darkness in the pond to create mystique or if you'd rather illuminate all the water. See the photo below for our 2016 Flower and Patio Show Garden. We had over a dozen lights in that pond. It was BRIGHT.
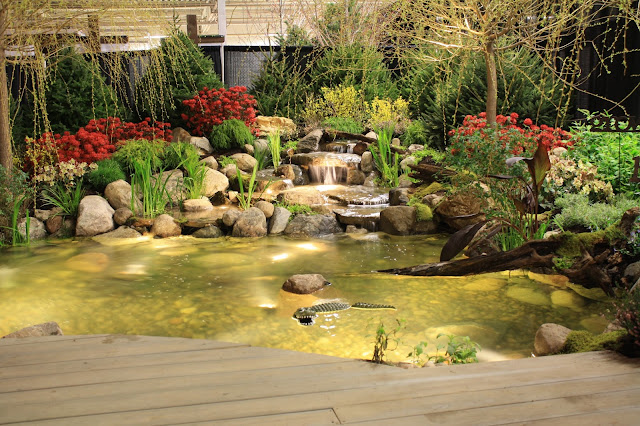 |
| Our garden at the 2016 Flower and Patio Show. |
We're going to assume you're going with the Steve "all or nothing" approach for the rest of this tutorial, but if you want help designing your own style, we'll be glad to be of assistance!
Step 4 -- Lay out your lighting units.
It's important to know how far your lighting units' beams will go. Luckily for you, we know our lights very well and can size an underwater light for your specific feature to get the most bang for your buck. Our 3 watt spotlight can illuminate about 12' in front of it. The 1 watt spotlight is better for small fountains, as it only illuminates about 3-5' in front of it.
Consider where your boulders are in the bottom of your pond. You don't want your light being blocked.
We recommend submerging pond lights and tucking them into your rock walls so that you see the light but don't notice the units themselves. We put ours about a foot underneath the water surface -- which is deep enough to illuminate the bottom of the pond but shallow enough to access the lights without draining the entire pond or going for a swim.
Once you plan what you need, physically install the lighting in the pond and leave the connected 14' power cord outside of the pond for our next step!
Step 5 -- Connect your lights.
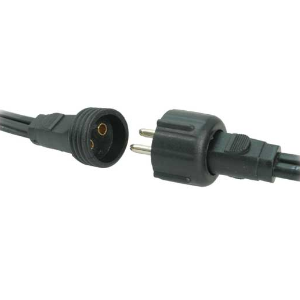 |
| All lights and connectors have easy to use plugs. |
All our lights are easy to plug in to extensions and connectors -- no need to trim wires.
There are many ways to connect your lights, either with splitters, or extension cables. In this example, we're using a 25' extension with connections at every 5'. This is a favorite of our installation crew, as it makes it so much easier and quicker to install lights.
Step 6 -- Make a lighting diagram.
It is very, very advisable to make a light diagram at this point. Your lights should last you for many years, but occasionally you might need to clean them or swap them out, and once you've wedged them between rocks and slept a few hundred nights, you're bound to forget where you put your lights! A light diagram should show all your connections and give some landmarks to help you find your lights again.
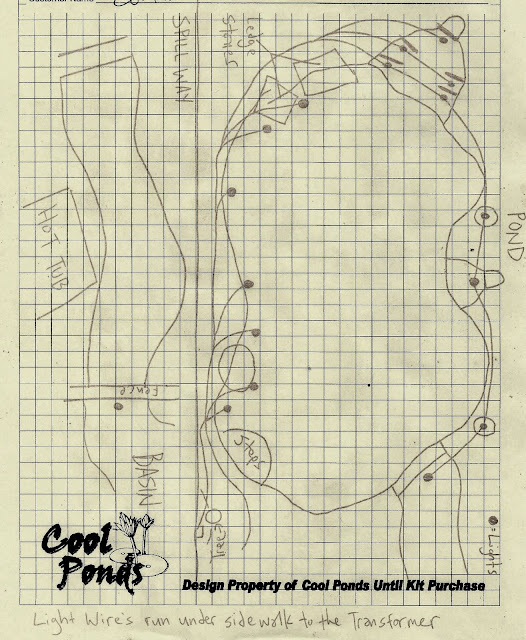 |
| Here's an example of one of our light diagrams. |
A couple of extra points:
This article was written specifically about the underwater lights that we sell at Cool Ponds. We're very familiar with how they work and their capabilities. These lights work perfectly under water or above it -- make sure the lights you use have the same capacity!So what're you waiting for? Get started on your own lighting system today!



Comments